Monday, September 2, 2013

Farmer Daves CSA In Massachusetts- A Review

So I've been doing this CSA thing for a few weeks now, and think that I have a pretty good idea of how it works enough to be able to review it. The CSA that I am currently using is called Farmer Daves, and thus far, I have been nothing but ecstatic about all of the produce that we've been fortunate enough to try!

Just LOOK at the amazing selection! This is "only" a small share! 
First of all, signing up is a breeze. You just go to http://www.farmerdaves.net and click the link titled CSA. It will then open up a page explaining everything to you in detail, including Frequently Asked Questions and Answers. If all of that sounds good to you, you click the link to sign up and select your share options.

Farmer Dave's offers a few different types of vegetable shares as well as a fruit share. You can choose between a Pre-Boxed Share, which is packed for you the morning of pickup and a Choice Style Share, where you take your bags and fill them with a choice of vegetables listed. For more info on the Choice Style Share, please visit this YouTube link with a very informative tutorial: Choice Style Vegetable Share. You also have the option to add things like honey, meats, coffee, additional veggies/fruits and maple syrup. There are several pickup locations and you just pick the one that is most convenient for you.

Your CSA options are as follows:

  • Regular Vegetable Share, which runs for 20 weeks from Mid-June through October, and can feed a household of 2-5 adults, depending on diets. 
  • Small Vegetable Share, which runs for the same amount of time as the Regular Share and feeds 1-2 adults depending on your diets. This is the one that we have and I am finding myself needing to come up with creative ways to use all of the veggies that we are getting, even when my husband is home! 
  • Spring Share, which has mostly springtime greens and veggies and runs for 12 weeks from Late March through Mid-June.
  • Late Fall Share, which runs for 7 weeks from Early November through Mid-December.
  • Fruit Share, which runs from Mid-July through the End of October. We also do this share and love, LOVE the amount of fruit we are getting! 
Pricing varies depending on what time of year you sign up. We got into the game a bit late and only wound up paying about 250 for the Small Share and 250 for the Fruit Share. Whole season pricing starts at 430.00 for a Small Share and goes up for the Regular Share. It may sound expensive, but think about how much you spend on produce every time you go to the grocery store, then multiply it by 20 weeks. I think that the price is more than reasonable for what you are getting. Still seems too expensive? My favorite thing about the Farmer Daves CSA and what sets them apart from the others is that they allow you to make two payments instead of one if you choose to and they give a 3% discount for paying with a check. If you can't afford to do the CSA, even with the two payment option, but are still interested, you can give them a call and see if you are able to take part in their Share a Share program, which you can find out more about HERE. 

Here is a photo of last week's Fruit Share. Included were doughnut peaches, white peaches, sweet red plums, blueberries and watermelon. There is usually quite a bit of variety and sometimes I need 2 bags to carry everything that we get!

Bottom line? Farmer Dave's been fantastic. My family and I love the variety and abundance of fruits and vegetables that we get each week and I am finding myself cooking much healthier meals as a result. I absolutely would recommend (and have already recommended) this CSA to all of my local friends and anyone else in the Metro Boston area who is interested in fresh, local, sustainably grown produce. Great job Farmer Dave's! Keep it up! 

Sunday, September 1, 2013

3 Day Refrigerator Garlic Dill Pickles

Not too long ago, my husband and I decided that it would be a great idea to join a CSA...and then he went out to sea, leaving my 3 year old and I to eat ALL OF THOSE FRESH, TASTY, SUSTAINABLE VEGGIES ALL BY OURSELVES!

The HORROR...

Not really. It's seriously been fantastic. I did have to come up with some creative ways to use up the (over)abundance of vegetables in our share, and so I decided to take up pickling, which is something that I had never done before. After some trial and error, I came up with the perfect pickle recipe. The best part? There is no processing required. Just stuff the jar, make the brine, pour it over the ingredients in the jar, put on the lid, tap out the bubbles and put it in the fridge. It's RIDICULOUSLY easy. The above method results in the most amazingly crunchy, garlicky pickles- so good that you will never
buy them from a store again!

I couldn't even take a photo without polishing off half of the jar...FOR SHAME.


Ingredients

4 Sanitized Pint Size Mason Jars
A Head of Garlic, Peeled and Chopped (I said these pickles were garlicky...)
Several Bunches of FRESH Dill (Seriously...the dried in a jar crap will not work for this!)
2 Tsp Black Peppercorns, Divided into 1/2 TSP Per Jar
A Sprinkle of Ground Mustard Powder Per Jar
1 Tsp Red Pepper Flakes, Divided into 1/4 TSP Per Jar (Or more if you like spicier pickles) 
4-6 Pickling Cucumbers, Sliced into 1/4" Thick Rounds (Slice them as you put them into the jars, because the number of slices that will fit into the jars varies depending on how you stuff them in!)
2 Cups of Distilled Vinegar
2 Cups of Water
4 TBSP Salt
2 TBSP Sugar

1. After sanitizing your jars and lids in boiling water, divide the Garlic, Dill, Peppercorns, Mustard Powder and Pepper Flakes evenly among them.


2. Slice up your cucumbers one at a time and stuff on top of the other ingredients. Fill every nook and cranny until they reach the bottom lip of the jar, about an inch from the top. 


3. Pour your vinegar and water into a saucepan and stir in the salt/sugar mixture until dissolved. Bring to a boil. 


4. Once the mixture is boiling, carefully pour it into each jar, leaving 1/2" of headspace. If you run out of brine, just throw together a little bit more by dividing the same recipe that you just used in half. 


5. Once full, put the flat piece of the lids without the screw on part onto each jar, then tap gently to get out all of the trapped air bubbles. Screw on the second part of the lids and set the jars on the counter to cool down a bit.


6. Once cooled, move the jars to your refrigerator and let sit for 3 days at the very least. This will allow ample time for the flavors to develop, but if you wait a few days longer, they will be even more flavorful. 

A word of Caution: Because these pickles are not cooked or processed in a hot water bath, they need to stay refrigerated and will last about 2-3 weeks. Just give them a whiff, if they smell "off", they probably are. 


Friday, August 23, 2013

Bittersweet

As we come up on our final year in Boston, I am finding myself so ready for a new adventure, yet so sad to be leaving. We have made some of the best friends we have ever had here and I am going to miss everyone so much. I guess that the good thing is that the Coast Guard is such a small branch, that there is a very good chance that we will all see each other again someday. It's even likely that we'll see our Air Force Friends again too! I love, and I do mean LOVE the area that we have spent the last few years in. It is such a quaint little town and there is so much history. I love the summers here with the big oak trees that overhang all of the back roads, hanging out at the pond, coffee dates and playing outside. I adore the fall apple picking and absolutely gorgeous foliage. I'll miss the beautiful blooms that let you know that warm weather is coming in the spring. I might even miss the winters, with the snow drifts that are taller than I am, hot tea and good books when it is snowing, and watching my little girl try to catch snowflakes on her tongue. ::sigh:: It is all very bittersweet.

That being said, I plan on making the most of this next year. Olivia is starting preschool (where did the time go?!) and we will also be enrolling her in ballet class. We are going to try and go camping up in the White Mountains one of these weekends that my husband is home. We also plan on doing our annual apple picking in New Hampshire, which is always so much fun. I'm so excited to make pies and other delicious apple-y treats for everyone and promise that I'll be posting the recipes as I make them! I'm going to continue hosting Friday coffees at my house and volunteering my time when needed. Finally, In order to ensure that I am even more insanely busy than normal, I will be assisting in planning the events for our local Coast Guard Spouses Association, as well as the Spouses club here on base, so I can officially be declared a crazy person. I also plan on blogging regularly with all kinds of recipes, life posts and product reviews. I'm pretty excited! It's going to be a fun filled year!


Thursday, August 22, 2013

I'm Baaaaaaaaaack!

After a (long) hiatus, I'm pleased to announce that I have returned to blogging and will be updating much more frequently with new recipes and quirks since my daughter will be starting preschool soon! Life became pretty hectic soon after I started the blog and I just couldn't find the time or energy to write. I'm so excited to be back! I am a Bzz Agent and will be posting my reviews, along with other product reviews and chronicling daily life as we await orders to a new, possibly (hopefully) exciting location! 

Talk to y'all soon! 

Jennie

Tuesday, May 31, 2011

Grilled Pineapple Upside Down Cake

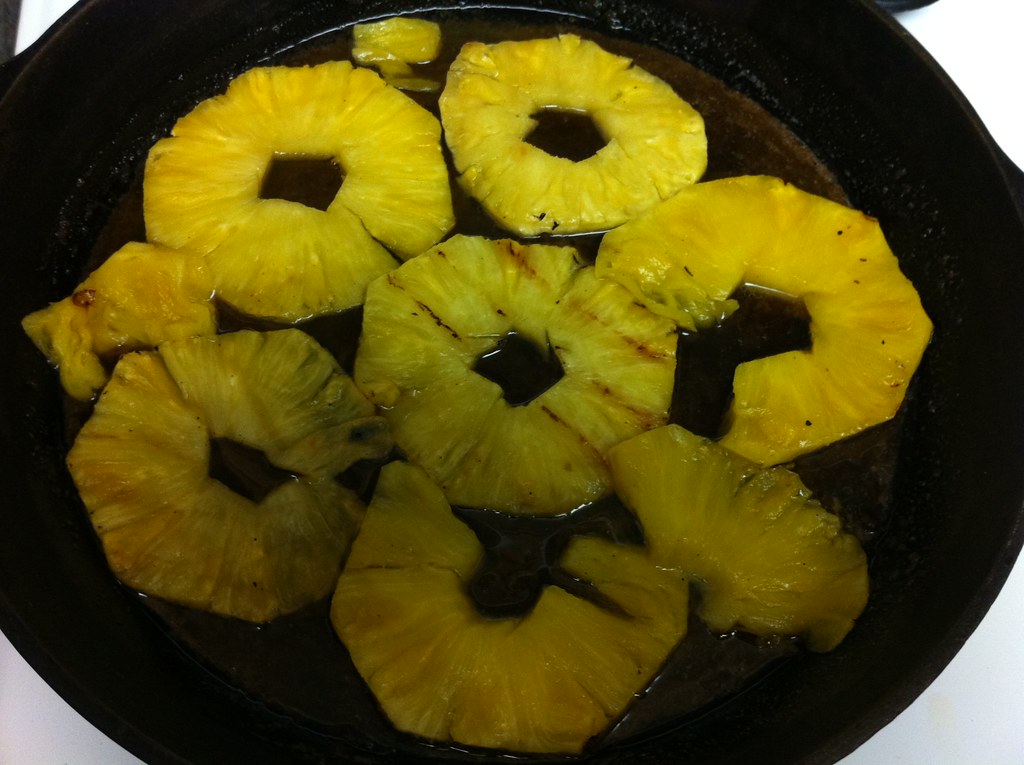
With my hubby finally being home from training, I haven't had much time for blogging, but I made this amazing cake the other day and just had to share! My secret ingredient? Grilled pineapple. The smoky, caramelized fruit paired perfectly with the brown sugar topping to create a sinfully delicious dessert.


Grilled Pineapple Upside Down Cake


Topping:

Sliced, Grilled Pineapple
1/2 Cup Butter
1 Cup Brown Sugar

Cake:

1 Stick Butter, softened
1 Cup White Sugar
3 Eggs
1 Tsp Vanilla Extract
1/4 Cup Pineapple Juice (I grilled the pineapple and then let it sit in a colander over a bowl in the refrigerator overnight. In the morning, I had the perfect amount of juice. You can also use canned if you prefer.) 
1/2 Cup Milk
1 1/2 Cups Flour
1 1/2 Tsp Baking Powder


In a large cast iron skillet, melt butter and turn off heat. 


Mix in brown sugar. 


Arrange pineapple on top of brown sugar mixture. 


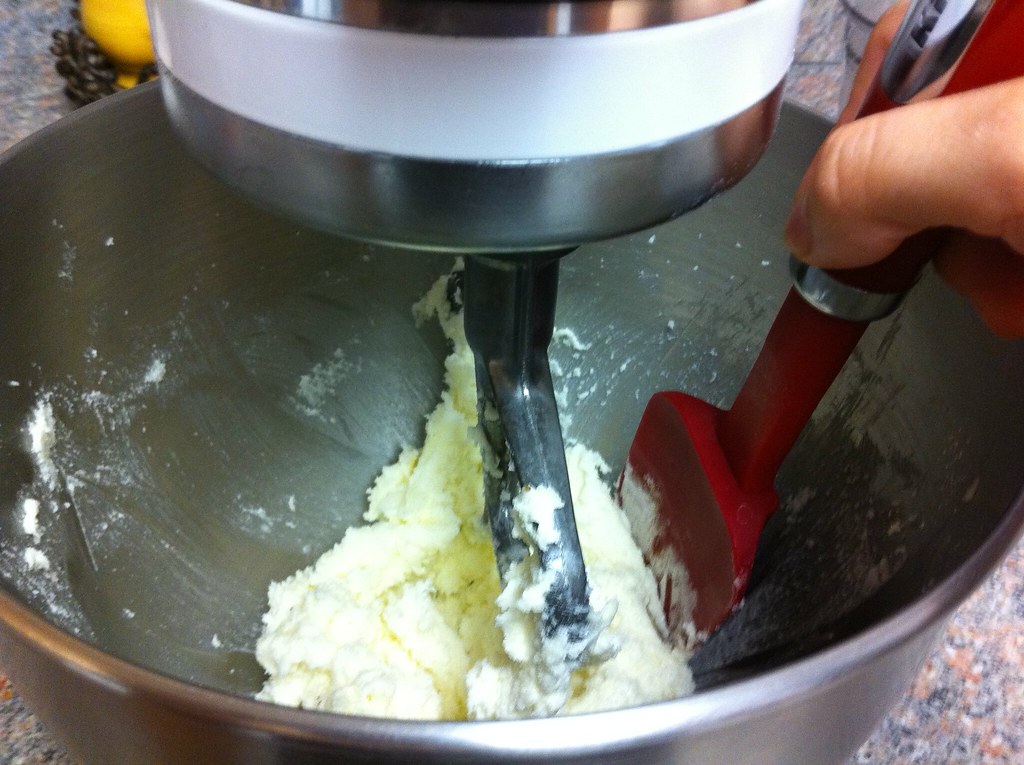
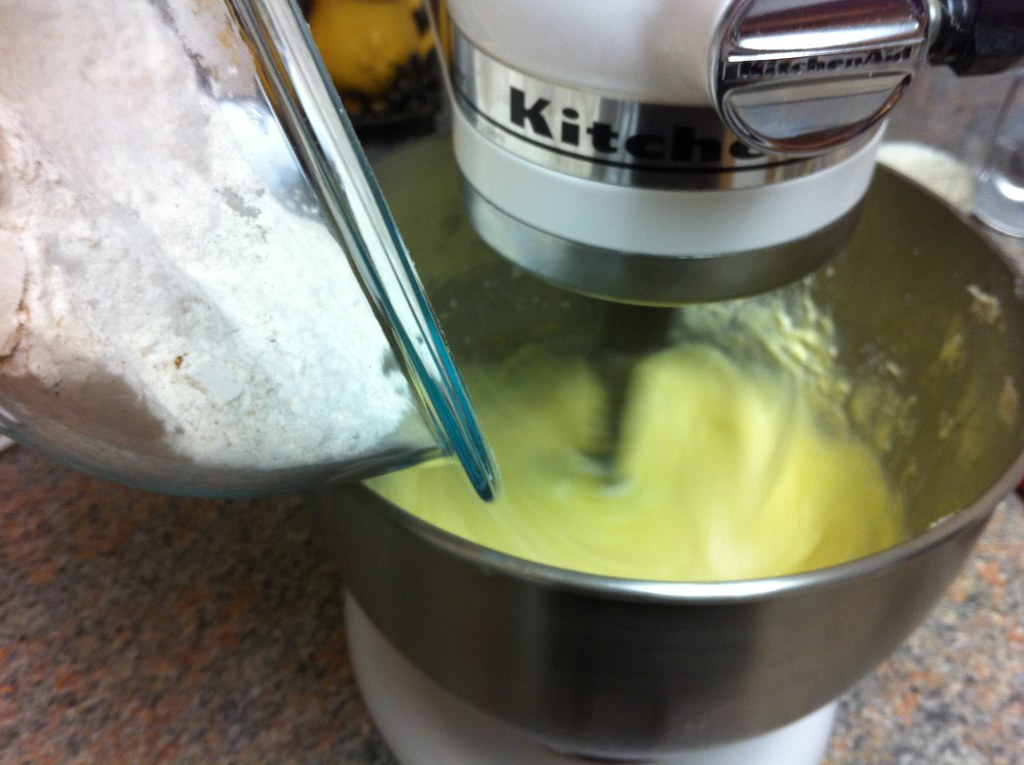
Meanwhile, in the bowl of an electric mixer, cream butter and sugar together until it is light and fluffy. 


Remember to scrape down the bowl often so that the butter and sugar are thoroughly mixed. 


Once butter and sugar are mixed, add eggs, one at a time, mixing well. 


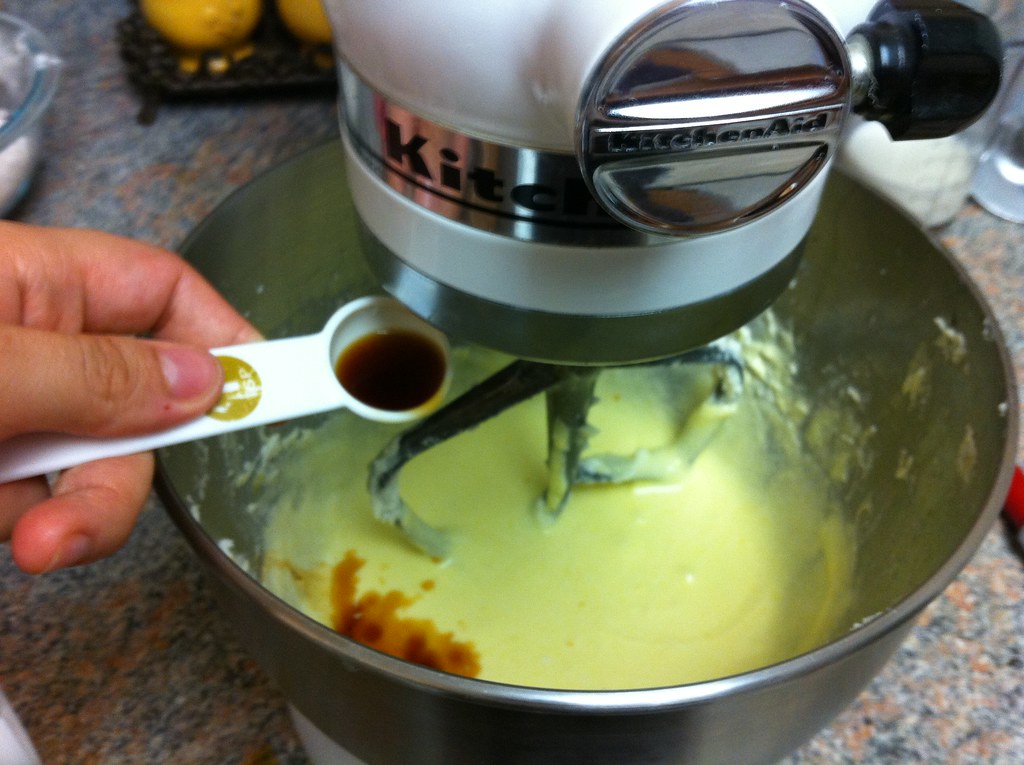
Mix in vanilla. 


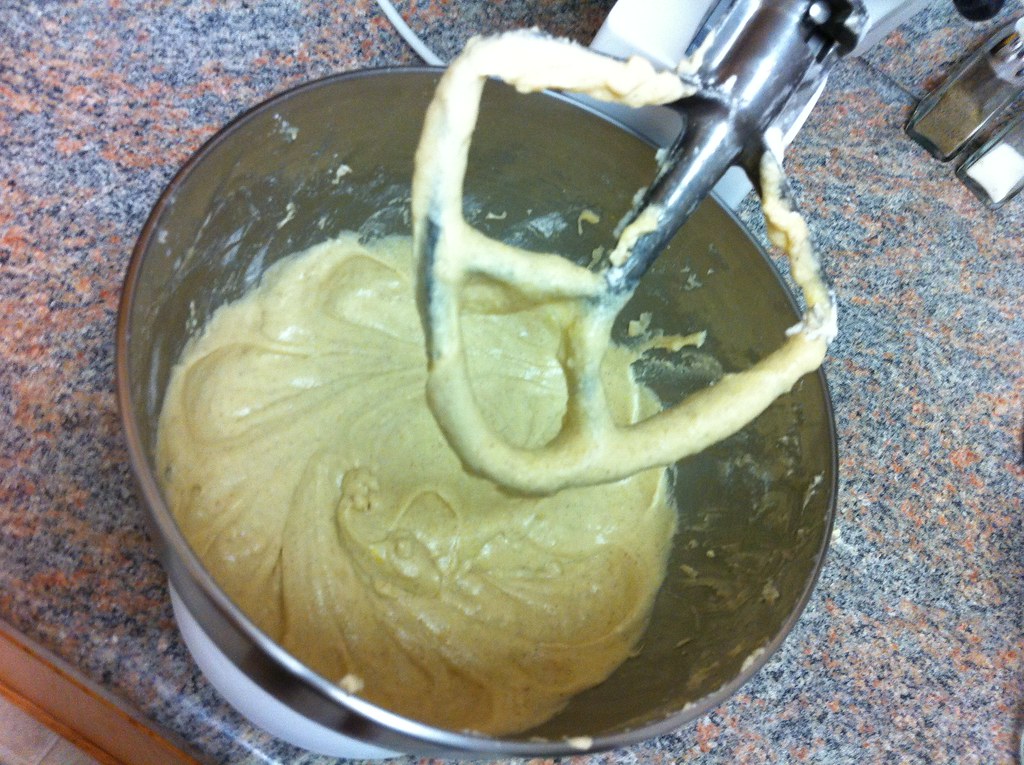
Alternate adding flour, milk and juice until a thick batter had formed. 


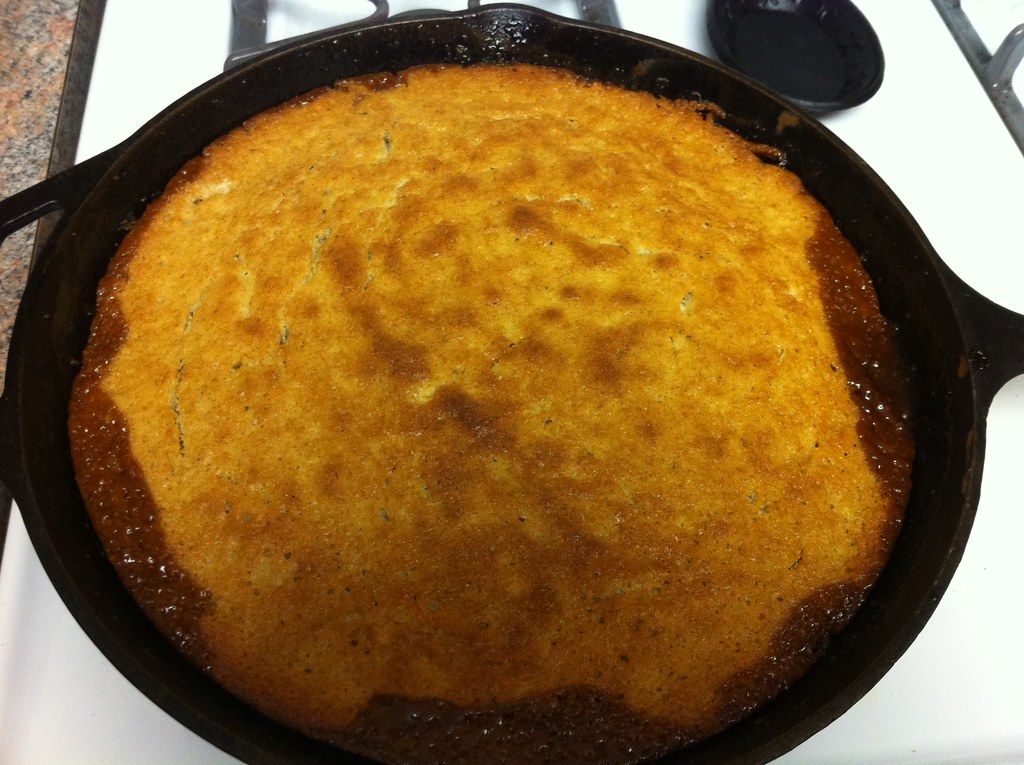
Pour batter over pineapple/brown sugar in skillet and smooth. Bake at 350 degrees for 45 minutes, or until a toothpick inserted into the center of the cake comes out clean. Remove from oven and allow to rest for 20 minutes, then turn out onto a platter. (I didn't have a big enough platter for the whole cake, so I just cut out a slice to show the end result!)


Enjoy! 


Saturday, May 14, 2011

Inspiration From My Pantry: Turkey Chili


I had planned on going to the grocery store at some point today to pick up some staple items, but instead decided against it once I stepped into gloomy, chilly weather when I let the dogs out. Instead of running errands as planned, my daughter and I stayed in our PJ's all day long and played in the living room from sun up to sun down.

When it came time to prep dinner for the two of us, I realized that maybe I should have made that trip to the store and started searching my kitchen for inspiration. I had lots of canned veggies, a few different meats in the freezer and a loaded spice cabinet, so I decided to make chili.

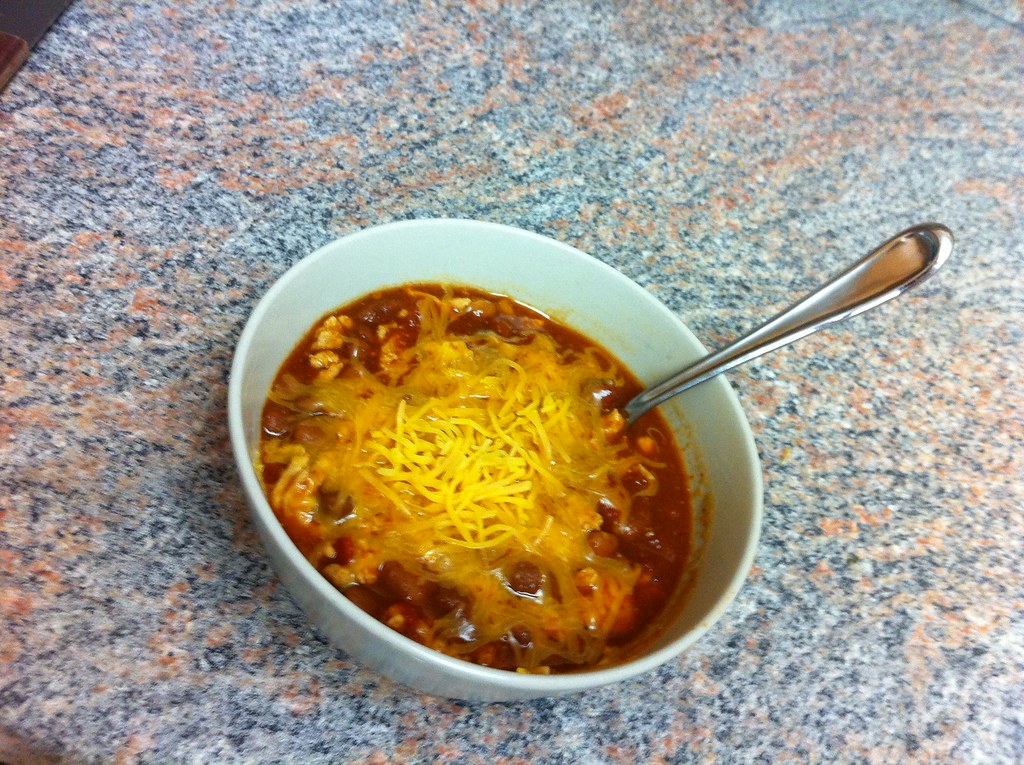
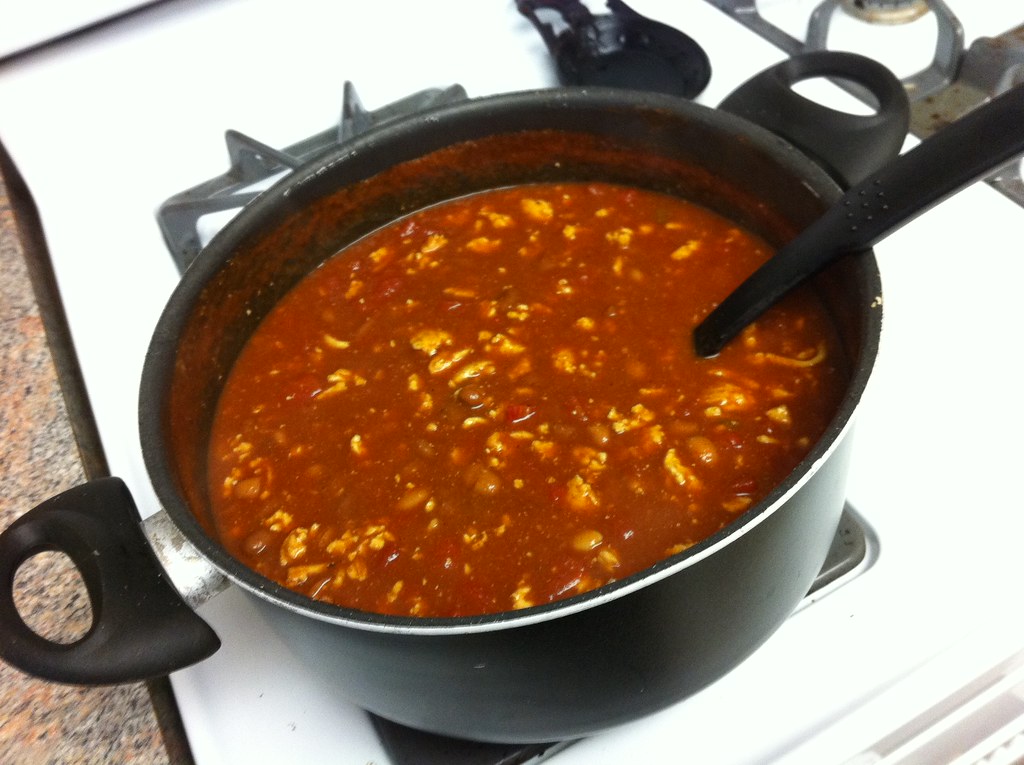
I began to pull out the items that I normally put in my chili only to find that I didn't have half of the ingredients. No onions, no garlic, no kidney beans, no ground beef....but I REALLY, REALLY wanted my chili. So in all of my stubborn-ness, I decided to see if I could get away with what I did have on hand-  Ground turkey, a can of tomatoes and a few cans of flavored pinto beans. What ensued was a deliciously thick, hearty chili that was perfect for this lazy day.

Turkey Chili

1 Can of Ranch Style Beans
1 Can of Bush's Texas Ranchero Grillin Beans
1 Can of Diced Tomatoes
1 Can of Tomato Puree
1 Can of Water
1 lb Ground Turkey
Beer
Onion Powder
Garlic Powder
Chili Powder
Cayenne Pepper


In a large sauce pan, brown turkey with salt, pepper, a good amount of onion and garlic powder, two shakes of cayenne and several shakes of chili powder. If it smells like taco seasoning, you've done it right. 


Once the turkey is browned, add all of your canned ingredients, the can of water, a bit more salt, onion powder and chili powder. Taste and adjust seasonings as needed as it comes to a simmer over medium heat. 


Once the chili is simmering, add a splash or two of the secret ingredient...and drink the rest as you stir.


Cover and let simmer over medium-low (as close to low as you can get it to keep it at a simmer) heat for 2 hours, stirring occasionally. 


Serve with shredded cheese and crushed tortilla chips on top. 


(I didn't have any tortilla chips...but I imagine it would have been even more fabulous with them!)

Saturday, May 7, 2011

Tortellini Salad


I don't measure when I cook. Ever. Baking, however, is a science and of course, requires the measurements to be exact. But I'm not a baker, I'm a cook. I have one recipe on here with approximate measurements based on the amount of an ingredient that I believe I have added...Confession- It was probably a palmful of feta in my Tabbouleh Salad, not 1/4 cup, or a couple of turns around the bowl of olive oil, not 2 teaspoons...you get the point. So, I'm going to start using the measurements that I use on a daily basis...a pinch of this, a palmful of that, season to taste. To me, that's what cooking is all about, the feel of being in control of the flavors that you are creating without having to drag out all kinds of tools to get the flavors right. The best tools you will ever have in the kitchen are your hands.

That being said, here is my version of pasta salad.

Tortellini Salad
(Serves 12)

3 packages Cheese Tortellini, cooked and cooled completely
1 container Grape Tomatoes, cut into halves
1/2 bag Shredded Carrot, or 2 peeled, thinly sliced carrots
1 container of Feta and Olives from your local deli counter or antipasto bar
1 large palmful of Shredded Parmesan Cheese
1 head chopped fresh Broccoli Florets
1 container mini fresh Mozerella Balls
1/2 bottle Light Balsamic Vinaigrette

Toss all ingredients together and refrigerate for at least 4 hours.

Monday, May 2, 2011

Unconventional Tabbouleh Salad

Have you ever been craving something absolutely delicious, but had no desire to turn on the stove? This has been my story all week long and I have been turning out unblogworthy, basic and bland food as a result- SO not me. Today, I opened the fridge to find a hodgepodge of leftovers and really wanted something mediterranean. Tabbouleh salad. I wanted more than the traditional bulgur, tomato, parsley blend, so I looked for other tasty ingredients I could add. Feta? Check. Fresh oregano and grilled chicken? Check and check. The result was something incredibly satisfying, healthy and fabulous without much effort at all.  

Unconventional Tabbouleh Salad
(Serves 1. Double, triple or quadruple the recipe for more people)

1 C cooked Coarse Grind Bulgur 
1 Roma Tomato
4 oz Grilled chicken breast
2 C Salad Greens (I used a Baby Romaine Blend)
1/4 C Reduced Fat Feta Cheese
2 tsp Extra Virgin Olive Oil
Juice of 1/2 Lemon
1/2 tsp Salt 
1/2 tsp Pepper
1/2 tsp Garlic Powder
1 Tbsp chopped fresh Parsley
1 tsp chopped fresh Oregano

Mix all ingredients except salad greens well, can be stored overnight. Toss with greens just before serving. 

Tuesday, April 26, 2011

Brats in a Blanket

While flipping through magazines on the hunt for new ideas for my weekly meal plan, I stumbled onto an interesting concept- a chicken sausage pocket made with refrigerated bread dough. No mess, no condiments dripping out everywhere...It was brilliant! I began to think of what I could do with such a concept, and the "Brat in a Blanket" was born.

Brats in a Blanket
Serves 4

2 containers of Refrigerated French Bread Dough
4 Fully Cooked Bratwurst (I used smoked, but any kind is fine)
Saurkraut
Whole Grain Mustard
1 egg, lightly beaten
Parchment Paper

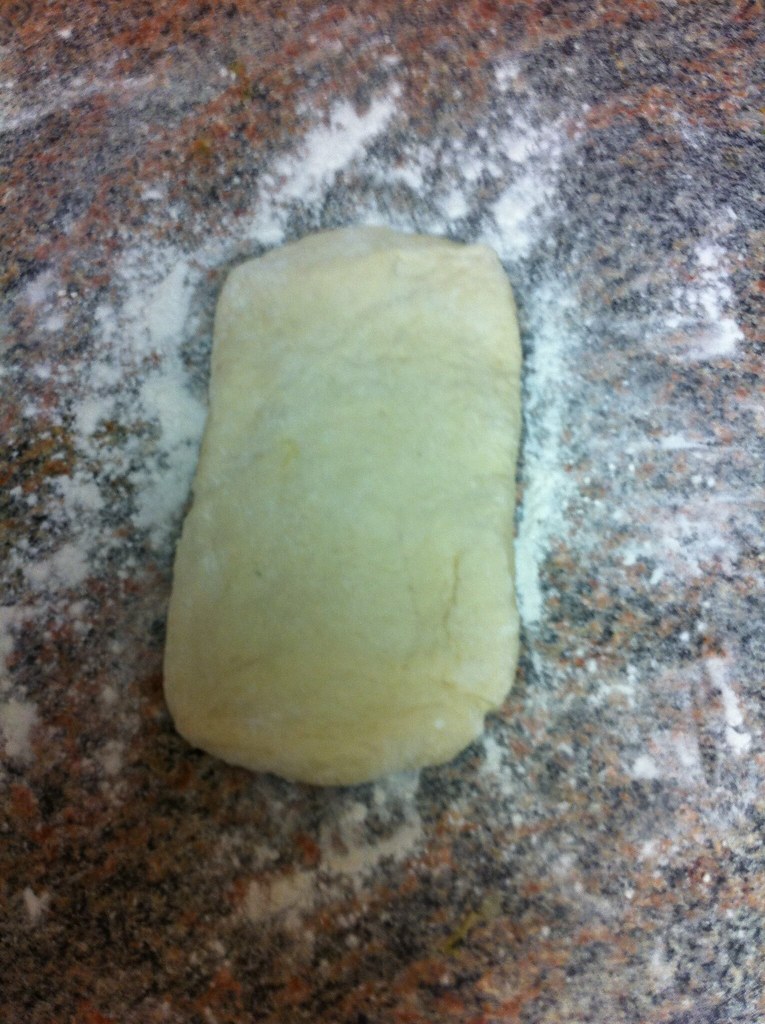
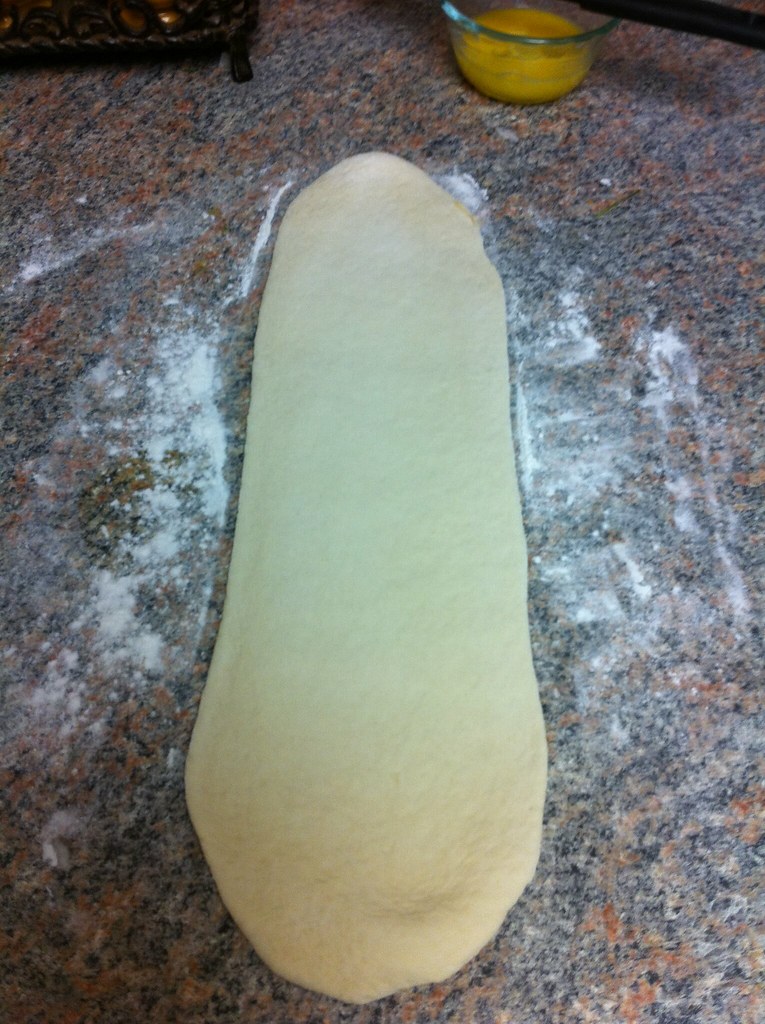
Preheat oven to 450. Remove bread dough from packaging and cut each loaf in half. On a floured surface, pound flat.


Roll the dough out until it's about 1/4" thick.


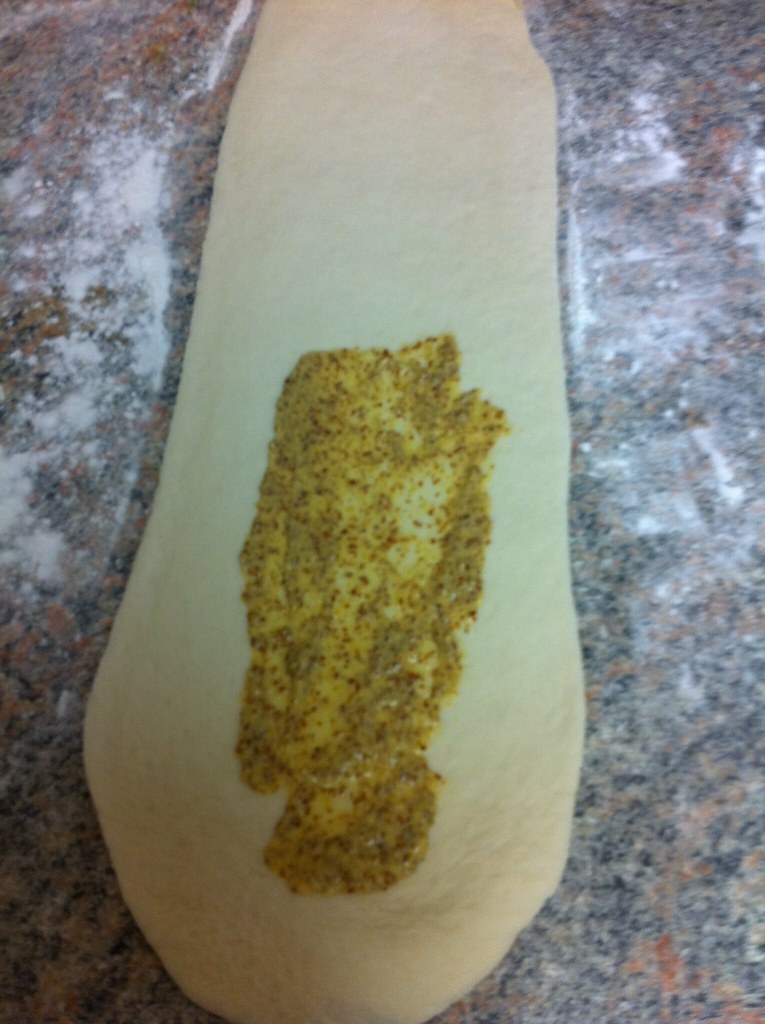
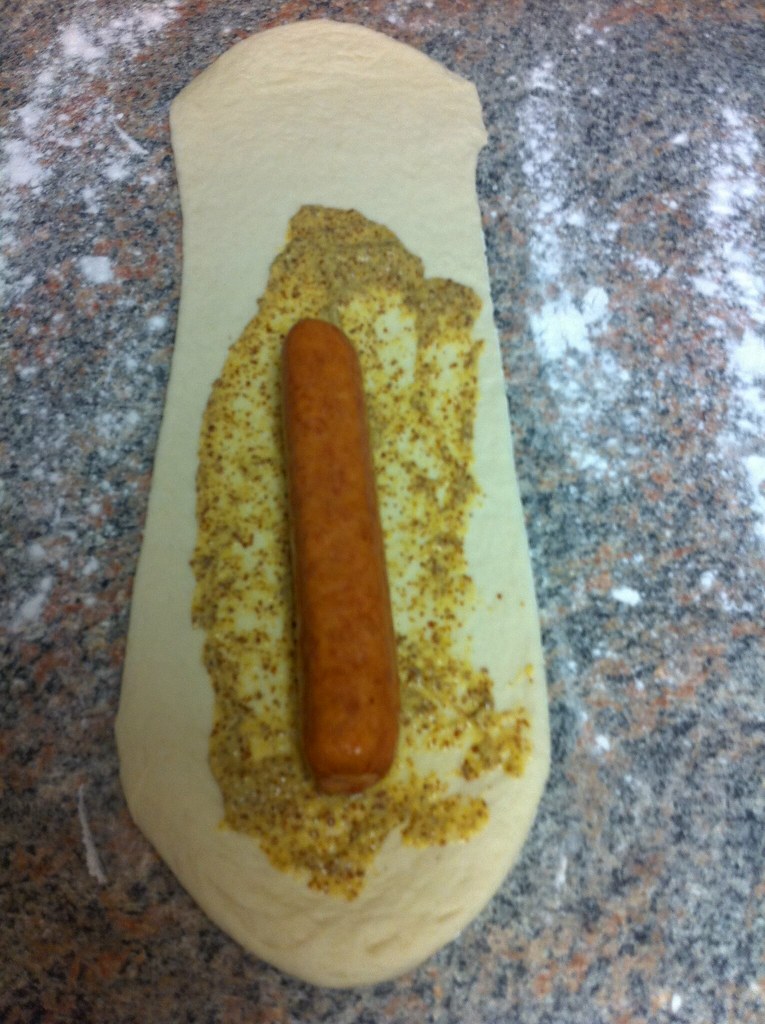
Spread 1 tsp mustard on the lower half of the dough, leaving a 1" border around it. Add the Bratwurst. 


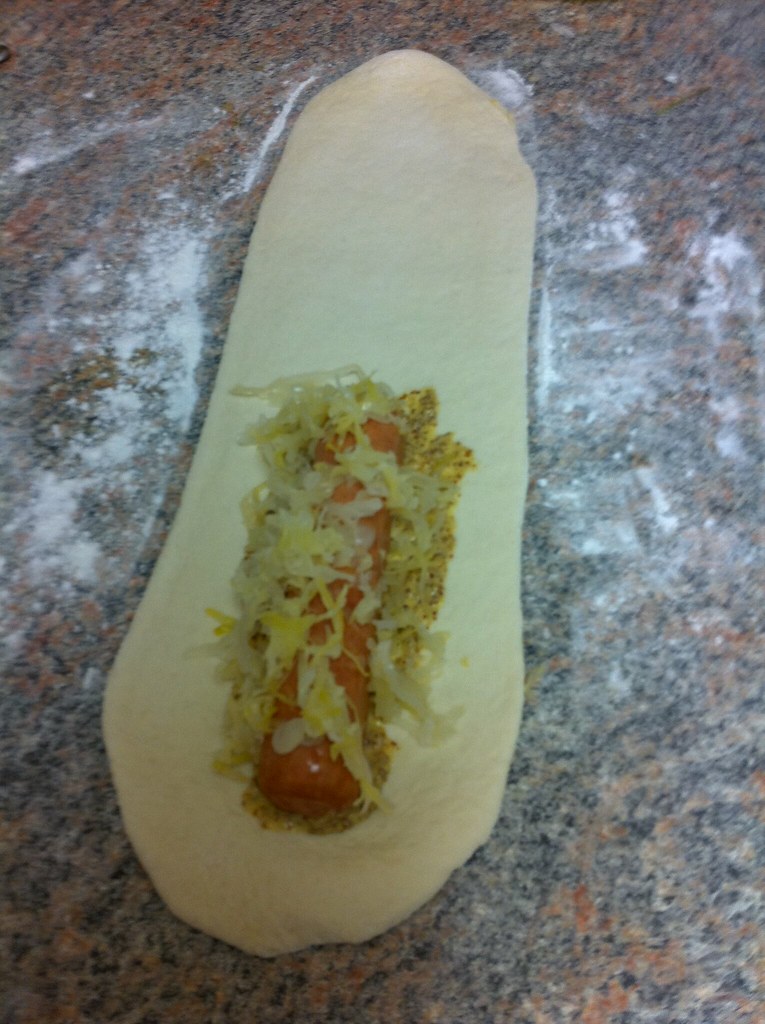
Top with Saurkraut. 


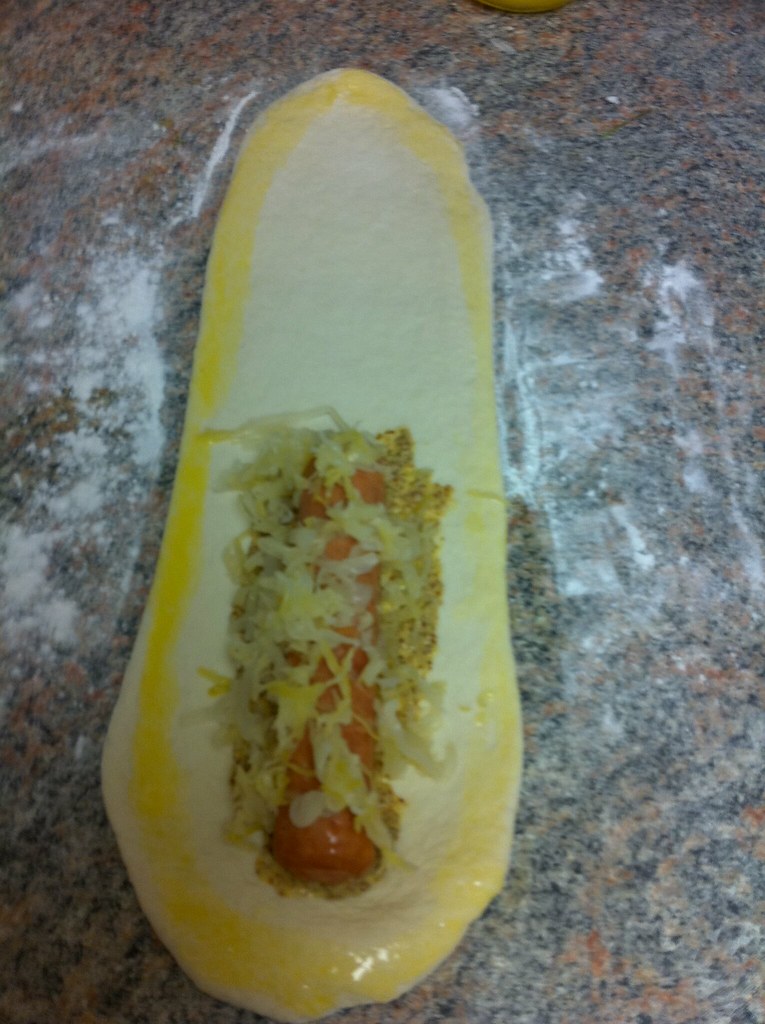
Using a pastry brush, brush the entire border of the dough with the beaten egg. 


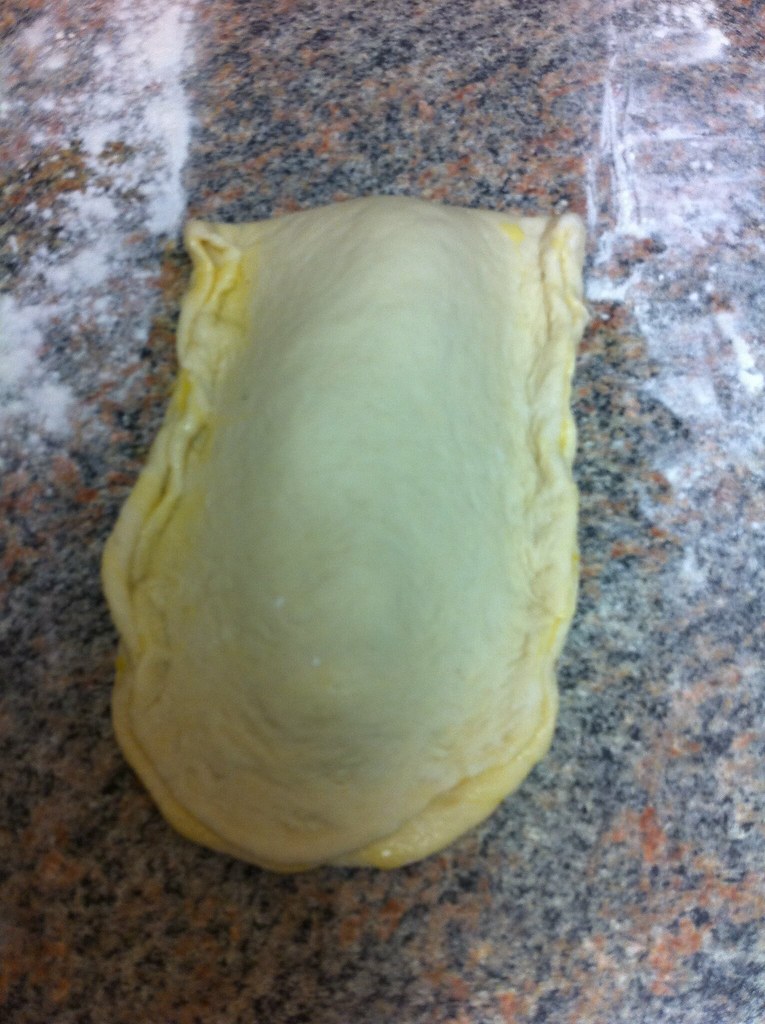
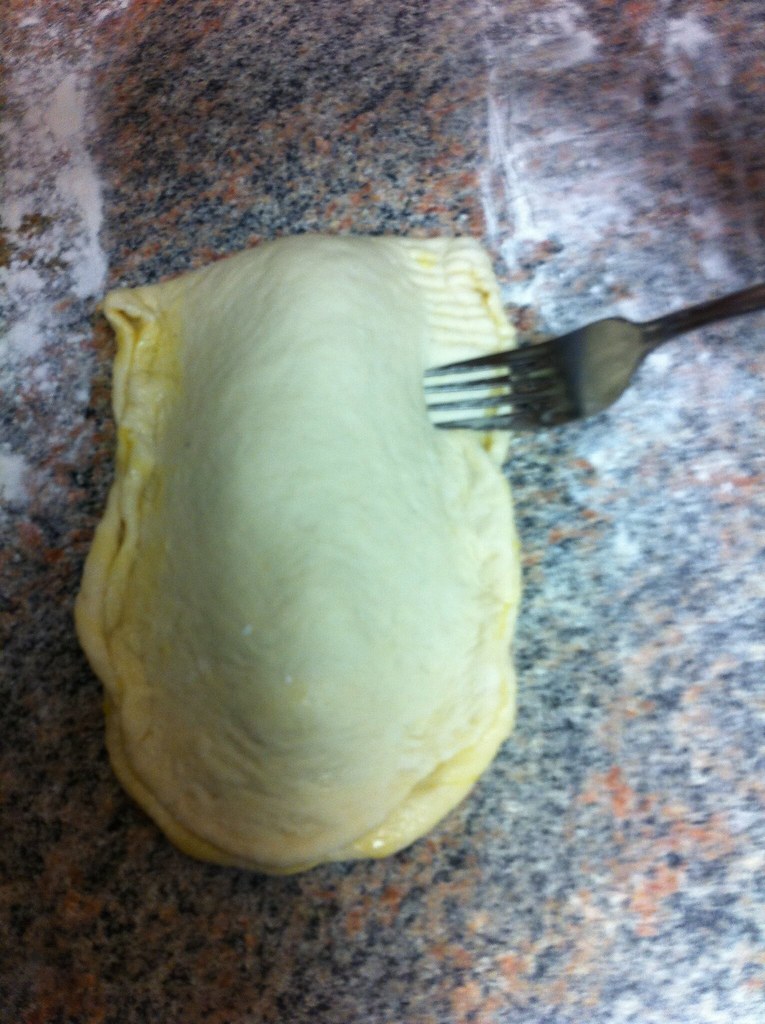
Fold the dough over the sausage and crimp edges with a fork to seal. 


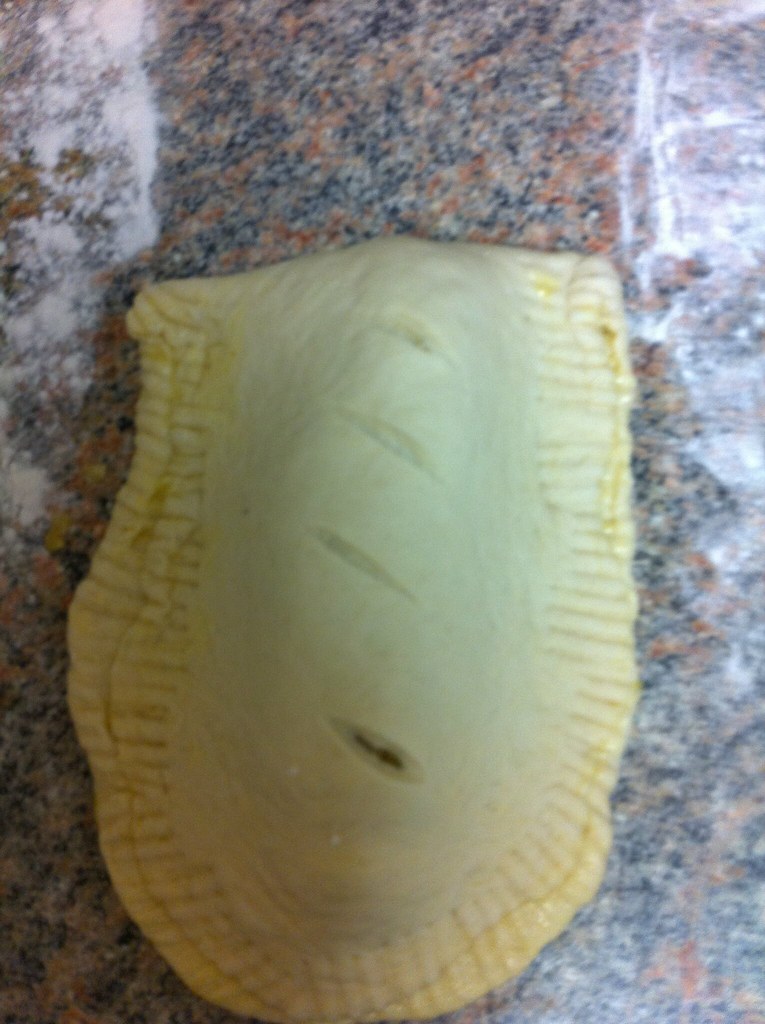
Cut four 1" slits in the top of the pocket to vent. 


Repeat steps until you have four sandwiches. Place on a parchment lined baking sheet and brush each one with remaining beaten egg. Bake on center rack of oven at 450 for 15-20 minutes or until golden. 

* Watch them carefully, as they can brown very quickly. Once they are golden brown, they are done. 

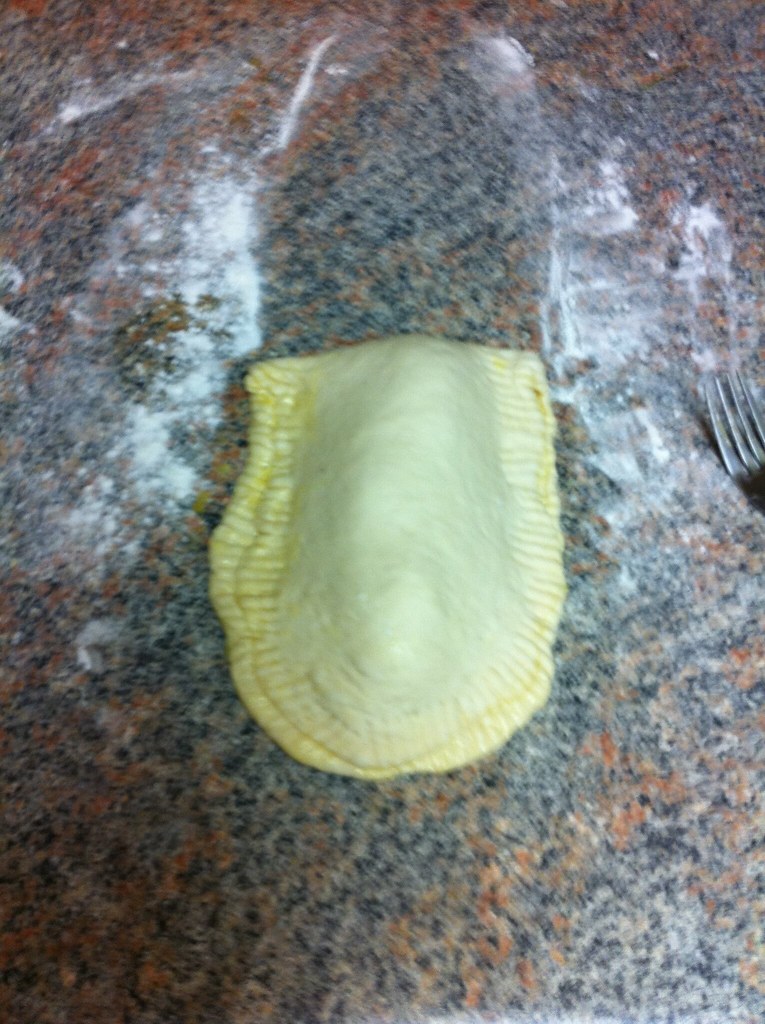
Once they are done, they should look like this: 


And here is the finished product! Enjoy! 


Simple Baked Ziti with Italian Salad

A few weeks before Christmas, we were visiting my husband's family and my mother in law asked me if I could make dinner for the company that she was expecting that night. I was thrilled, as I love cooking for crowds, but I had to think fast. I was going to be feeding about a dozen people, and needed something easy but delicious.

My go to dish for large groups of people is Baked Ziti. It satisfies most every palate, uses only four ingredients and tastes like you worked all day to make it.

Baked Ziti

(This recipe can be adjusted for the number of people you are feeding. Double it if you are feeding 12 or more.)

1 bag of Ziti Pasta
1 jar of  your favorite Spaghetti Sauce (I use Classico Organic)
1 lb of Italian Sausage, removed from casings (I use sweet, but any kind will do)
Shredded Mozzerella cheese

1. Preheat oven to 375. Cook pasta in salted water according to package directions and drain. Toss with 1Tbsp extra virgin olive oil to prevent sticking.

2.  In a large skillet, brown sausage and drain. Add pasta sauce and stir. Cover and allow to simmer for 10 minutes.

3. Once sauce is done, toss with pasta and pour into the baking dish of your choice. Top with shredded mozerella and bake, covered with foil for 40 minutes.

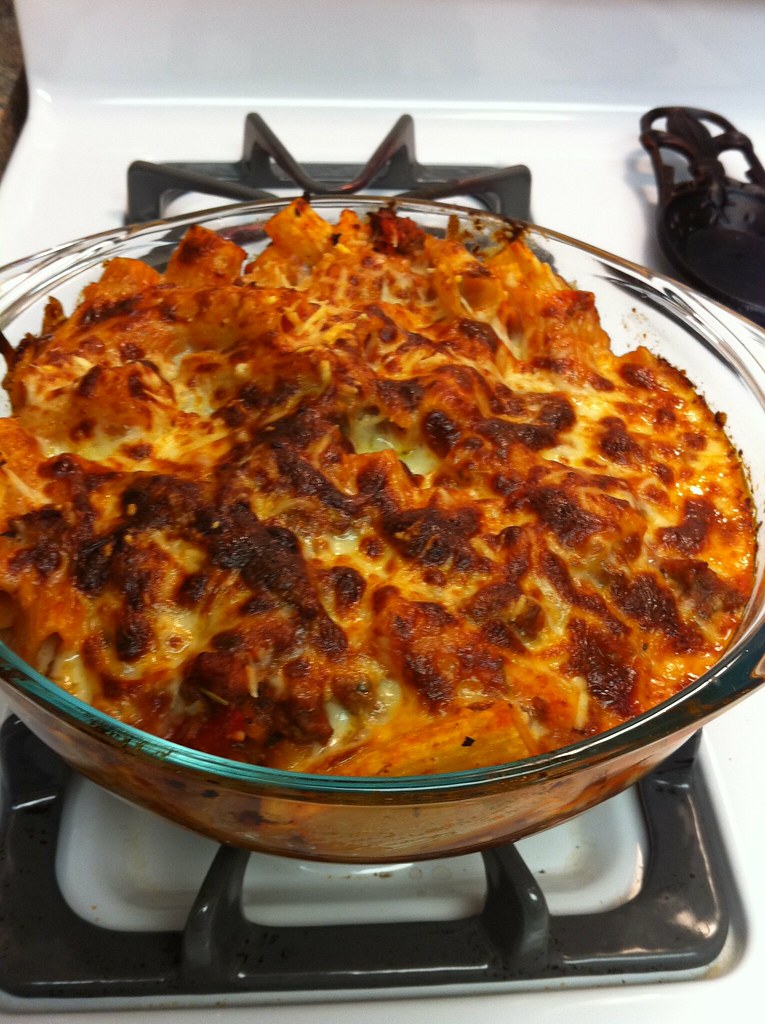
4. Remove foil, turn oven up to 400 and bake for an additional 10-15 minutes, or until cheese is golden and bubbly.


I always like to do a salad with my pasta dishes, and this one is so good, you'll want to have lots on hand for seconds!


Italian Salad

1 bag of Iceberg Salad Mix
1 head of Romaine Lettuce, rinsed and chopped
3 Roma Tomatoes, sliced
1 Red Onion, sliced
1/2 jar Pepperoncini Peppers, drained
1/2 can Pitted Black Olives
1/2 cup shredded Parmesan Cheese
1/2 bottle of Roasted Garlic Italian Dressing

In a large bowl, mix all ingredients. Add dressing and toss about 5 minutes before serving.

Monday, April 25, 2011

Who I am...

Growing up, I never left the South. I was content to stay where I was, never thinking for a moment that I would one day be living the adventure that I am on right now.

When I met my husband, I was so sure of my stable little life and what I wanted out of it- marriage, a house, a yard, a few kids, a dog...and happily for me, everything we did was textbook. We went to school, began our careers, bought a home and got engaged. Our lives seemed complete as we planned our happily ever after and then one day he came home with the words that would change our lives forever- "I'm joining the Coast Guard."

After picking myself up off of the floor, I made the decision to go with the flow and have since opened my stable little life up to a roller coaster ride I would gladly go on again and again.

We were married on the beach in Hawaii in October that year and then had a large ceremony for family and friends in November. Nine months after our wedding, we found out that we were pregnant with our little girl. We moved to California. Our daughter was born on 3-2-10, a countdown, which is very fitting for our family.  When she was six weeks old, we moved to Boston.

Between juggling our two dogs, dealing with my husband's deployments and putting on a brave face for my little girl even when I am about to lose it, life can get a bit chaotic at times. But even when things are absolutely crazy around here, I find joy in cooking. It's my therapy (along with wine) and my true happy place. My mission is to share my love of cooking with all of you and to show you that it can be fun- (and easy!)